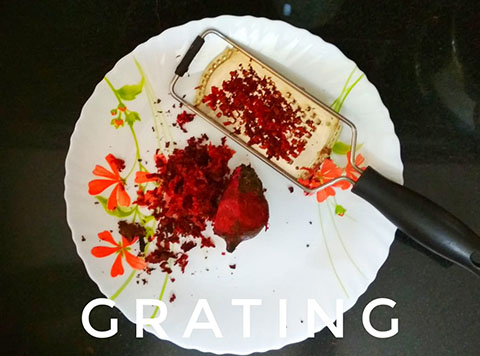
Depending on where you are located, you may be under stay home orders, shelter-in-place orders, quarantine, etc. Regardless of the exact wording…most of us are spending more time at home. We recently spoke with Dr. Sreekumar, founder of Krishna Inks, and he shared a guide on how to make dip pen ink at home using beetroot, so you now officially have something fun to add to your “not leaving the house” to-do list.
How to Make Dip Pen Ink at Home: Krishna’s 7-Step Process
According to Krishna Ink’s Dr. Sreekumar, there’s a simple 7-step process (that all of us can manage) for making dip pen ink at home. Have a bit of free time on your hands? Trying to think of things to do to fill your hours at home during the lock down? Ready for a new fountain pen world challenge? Give it a try and see what you think.
Making Dip Pen Ink: Beets Aren’t the Only Option
You can make different colors of ink by using different natural sources to this basic recipe(i.e. acorns, certain berries, black walnuts, and…you guessed it, beets). Using beets to make your dip pen ink will result in a purplish red ink color that is really quite beautiful. Generally speaking, the ink-making process means heating, straining, and dedicating some time. Give it a try according to Dr. Sreekumar’s instructions and then maybe do some experimenting of your own using different natural materials.
Supplies Needed to Make Dip Pen Ink at Home:
- 1 Large Beet (or more if you want to make more ink)
- Grater
- Pan
- Water
- Mesh Strainer
- Vinegar
- Glue (liquid)
- Empty Ink Bottle or Jar (with a lid, to store your ink)
- Dip Pen (only use this ink with dip pens, NOT recommended for fountain pens)
How to Make Dip Pen Ink at Home Using Krishna Ink’s Dr. Sreekumar’s Formula:
Step One: Grate your beetroot
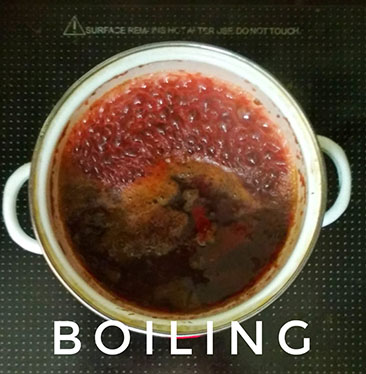
Step Two: Place your grated beet into a pot along with 1 1/2 cups water and heat to boiling.
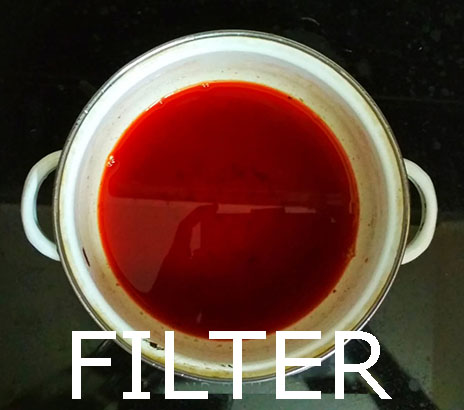
Step Three: Carefully pour the water/beet mixture through your mesh strainer into a separate container. Discard the solid portion that doesn’t make it through the mesh strainer. Pour the liquid portion back into the pot and place back on the burner.
Step Four: Bring it back to a boil. Boil until the liquid in the pot reduces to about 1/2 cup.
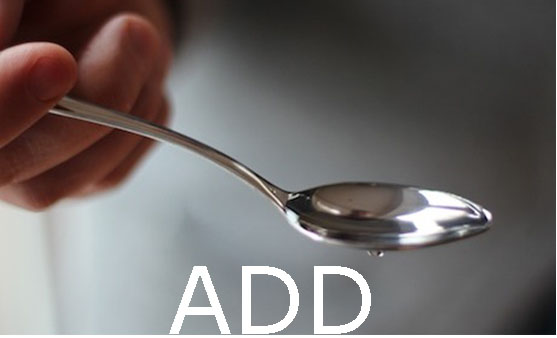 Step Five: Remove the pot from the burner, and add 2 teaspoons of vinegar (to preserve your ink).
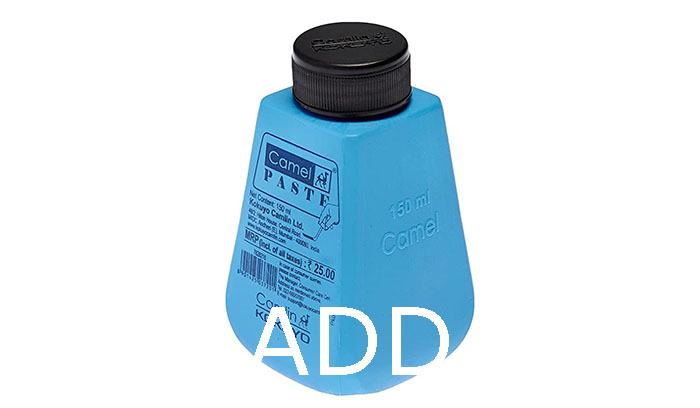 Step Six: This step is optional, but you can also add 1 teaspoon of liquid glue to your ink.
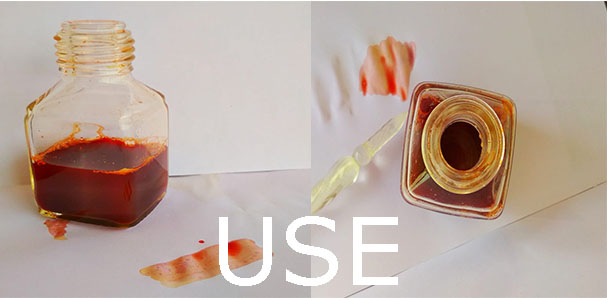
Step Seven: Transfer your dip pen ink into your empty ink bottle or other container and let it cool. Once the ink is cooled, give it a try with your favorite dip pen!
Don’t Forget: This is a Dip Pen Ink Not a Fountain Pen Ink
If you’re a fountain pen fan who doesn’t own any dip pens, you might want to get your hands on one before you attempt this particular quarantine fountain pen how to so you’re not tempted to use your dip pen ink in your fountain pens. We use the J.Herbin Spiral Glass Dip Pen during our weekly ink reviews, but we also carry the J. Herbin Smooth Frosted Glass Dip Pen and the J. Herbin Marbleized Glass Dip Pen. Take your pick – all three are solid choices.
We hope you enjoyed this fountain pen how special quarantine edition. Check back soon for more fountain pen how to’s, fountain pen project tutorials, and general fountain pen world fun!
Buy Fountain Pen Ink
Best Desktop Pen Holders
Fountain Pen Nibs
Pen Brands
Rotring Company
Visconti Pen Company
Ink Miser Company


